Sep 15, 2026
Planning Promotional Gift Kits for 3 City Events: Quantity, Packing and Reorder Workflow
A practical workflow for planning promotional gift kits across three city events, covering quantity splits, branding approvals, pack-out, shipping buffers and reorders.
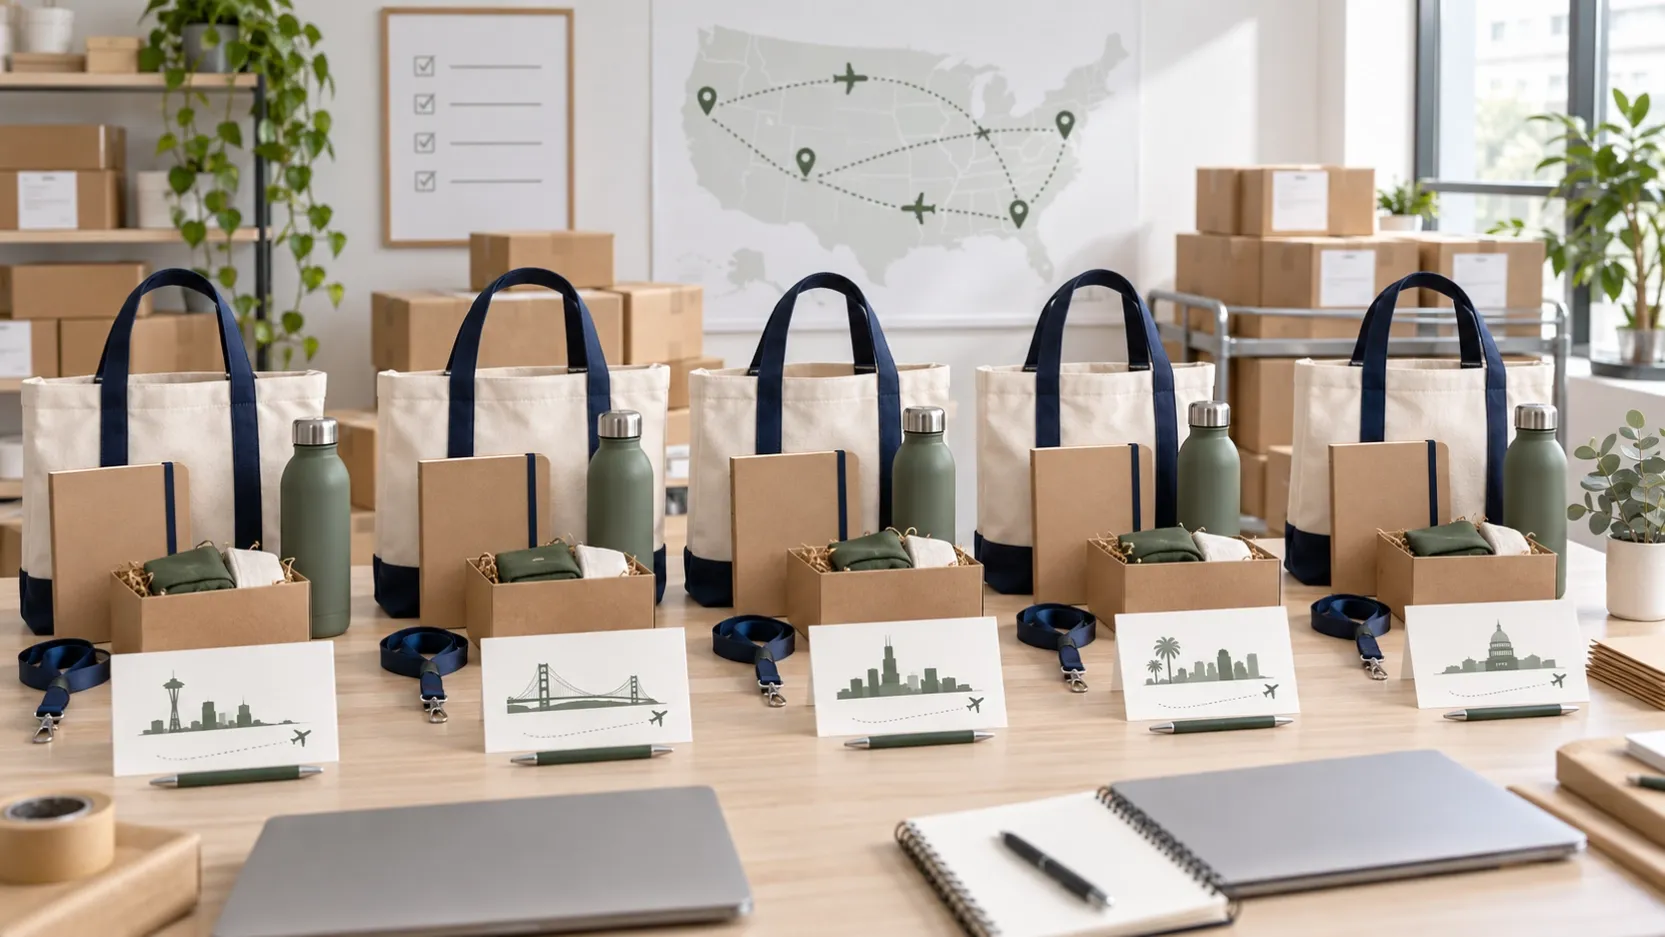
Planning one promotional gift order for a single event is already a coordination job. Planning the same campaign for three cities adds another layer: different attendance forecasts, delivery addresses, event dates, storage limits and last-minute changes.
The safest approach is to treat the project as one controlled program with three clearly separated destinations—not as three unrelated orders and not as one large shipment that local teams must sort themselves.
This guide shows how a buyer can plan quantities, branding, packing, shipping and reorders for a three-city activation while keeping every step easy to verify.
- Start with the event plan, not the product catalog
Before comparing tote bags, bottles or notebooks, create one line of information for each city:
• Event date and venue
• Expected visitors or recipients
• Staff quantity
• Delivery contact and receiving hours
• Storage space at the venue
• Distribution method
• Deadline for the goods to be available on site
These details change the product decision. A large boxed gift may work for a client dinner but create unnecessary storage pressure at a busy booth. A lightweight kit is easier to move, count and distribute across multiple venues. The product should fit the real distribution moment.
- Calculate quantities city by city
Do not divide the total quantity equally unless attendance is genuinely equal.
Use this practical formula:
Expected recipients + staff allocation + replacement stock + event buffer = city quantity
For example, if City A expects 180 recipients, needs 12 staff kits and wants an 8% buffer, the order should not be recorded simply as “200 pieces.” The packing plan should show how many units are for attendees, staff and backup use.
City-level planning avoids two common problems: one location runs out while another has excess stock, or spare units are packed inside general cartons and cannot be found when needed.
For a three-city program, keep a central reserve only if there is enough time and a reliable way to move units between cities. Otherwise, place the necessary buffer inside each city shipment.
- Keep one core kit and allow controlled variations
A multi-city campaign usually benefits from one consistent core kit. This keeps branding, product quality and recipient experience aligned.
A practical core combination might include:
• Reusable tote bag
• Insulated bottle or tumbler
• Notebook and pen
• Lanyard or badge accessory
• Printed message card
Variations should be intentional. The same product colors and logo position can be used in every city while the message card or outer carton label changes by destination.
Avoid unnecessary product changes. Every extra color, logo version or accessory creates another approval point and another opportunity for packing errors.
If local teams request differences, record them in a version table before production:
City | Product variation | Artwork version | Quantity | Packing label
This simple record is more useful than approving details across separate email or chat threads.
- Approve branding before dividing the order
The best time to control consistency is before mass production begins.
Approve these details for the full campaign:
• Product color
• Logo file and color reference
• Logo size
• Print or engraving position
• Decoration method
• Packaging layout
• Message-card artwork
• Destination label format
Ask for a clear digital mockup and, when timing allows, a pre-production or decorated sample. The approval should identify the artwork version and date.
For mixed-product kits, review branding as a set. A logo that looks balanced on a notebook may be too small on a tote bag or too large on a narrow bottle. Product-by-product artwork approval prevents that mismatch.
- Design the pack-out for counting
Good packaging protects the goods and makes the event team’s work easier.
Use three levels of identification:
Unit level: individual kit or product grouping.
Inner-carton level: fixed quantity, such as 20 kits per inner carton.
Master-carton level: city, carton number and total carton count.
A useful master-carton label includes:
• Campaign name
• Destination city
• Venue or receiving contact
• Carton number, such as 3 of 8
• Quantity inside
• Product or kit description
• “Open first” marking where necessary
Keep staff kits, VIP kits and replacement stock in separately marked cartons. When all items look similar, a small label difference prevents the wrong group from receiving the wrong pack.
- Build the delivery schedule backward
The production deadline is not the event date. Work backward from the date when the local team must physically receive and check the goods:
Event day
Minus local setup time
Minus receiving and counting time
Minus transport buffer
Minus customs or regional transit time
Minus international shipping time
Minus final inspection and packing
Minus production
Minus artwork and sample approval
Three cities may require three shipping deadlines. If the events are one week apart, it may be safer to release shipments separately rather than hold every carton for one final completion date.
Ask the supplier to confirm these milestones in writing:
• Artwork approval cutoff
• Sample approval date
• Production completion date
• Inspection date
• Packing-list confirmation
• Dispatch date
• Estimated delivery window
A delivery window is more realistic than treating one estimated date as a guarantee.
- Prepare a reorder rule before the first event
The first city can provide useful information for the next two, but a reorder works only if the rules are already clear.
Before launch, agree on:
• Minimum reorder quantity
• Whether the same artwork file can be reused
• How long materials or blank products can be reserved
• Reorder production time
• Whether leftover packaging can be stored
• Who can approve additional quantity
• Latest reorder decision date for each later event
If City A distributes faster than expected, the team should know whether extra units can be produced or transferred without delaying City B or City C.
A reserve of blank products helps only when the supplier confirms that the same color and specification can be maintained. Do not assume a later batch will automatically match the first batch.
- Inspect by destination, not only by total quantity
A total inspection can still miss city-level errors.
The final check should compare every destination against its approved packing plan:
• Correct product and color
• Correct artwork version
• Correct quantity
• Correct accessories
• Correct message card
• Correct carton labels
• Correct destination details
• No mixed cartons unless clearly approved
Photographs of completed kits, open cartons and exterior labels create a useful record before dispatch. They also show local teams what they should receive.
- Information to include in your supplier inquiry
A clear inquiry helps a supplier quote the right products, packaging and shipping arrangement. Include:
• Number of cities and event dates
• Estimated quantity for each city
• Preferred products or target kit budget
• Logo file and number of print colors
• Packaging requirements
• Individual address or venue delivery needs
• Required destination labels
• Whether different categories must be combined
• Sample requirement
• Delivery country and postal codes
• Expected reorder possibility
If final quantities are not confirmed, provide a realistic range for each city. This is more useful than asking only for a unit price without explaining the campaign.
Key takeaways
A successful three-city promotional gift campaign depends on control points, not just product selection.
• Plan quantities by city and purpose.
• Keep one core kit with limited, documented variations.
• Approve branding and packaging before dividing production.
• Label cartons so local teams can count and distribute quickly.
• Work backward from the real receiving date.
• Set reorder rules before the first event.
• Inspect every destination against its own packing list.
The goal is simple: each city should receive the right goods, in the right cartons, with enough time to check them before the event begins.