Oct 22, 2026
One Logo, Five Products: How to Keep Brand Colors Consistent Across a Corporate Gift Set
A practical guide to keeping logo colors consistent across mugs, bottles, notebooks, bags and tech gifts in one branded corporate gift set.
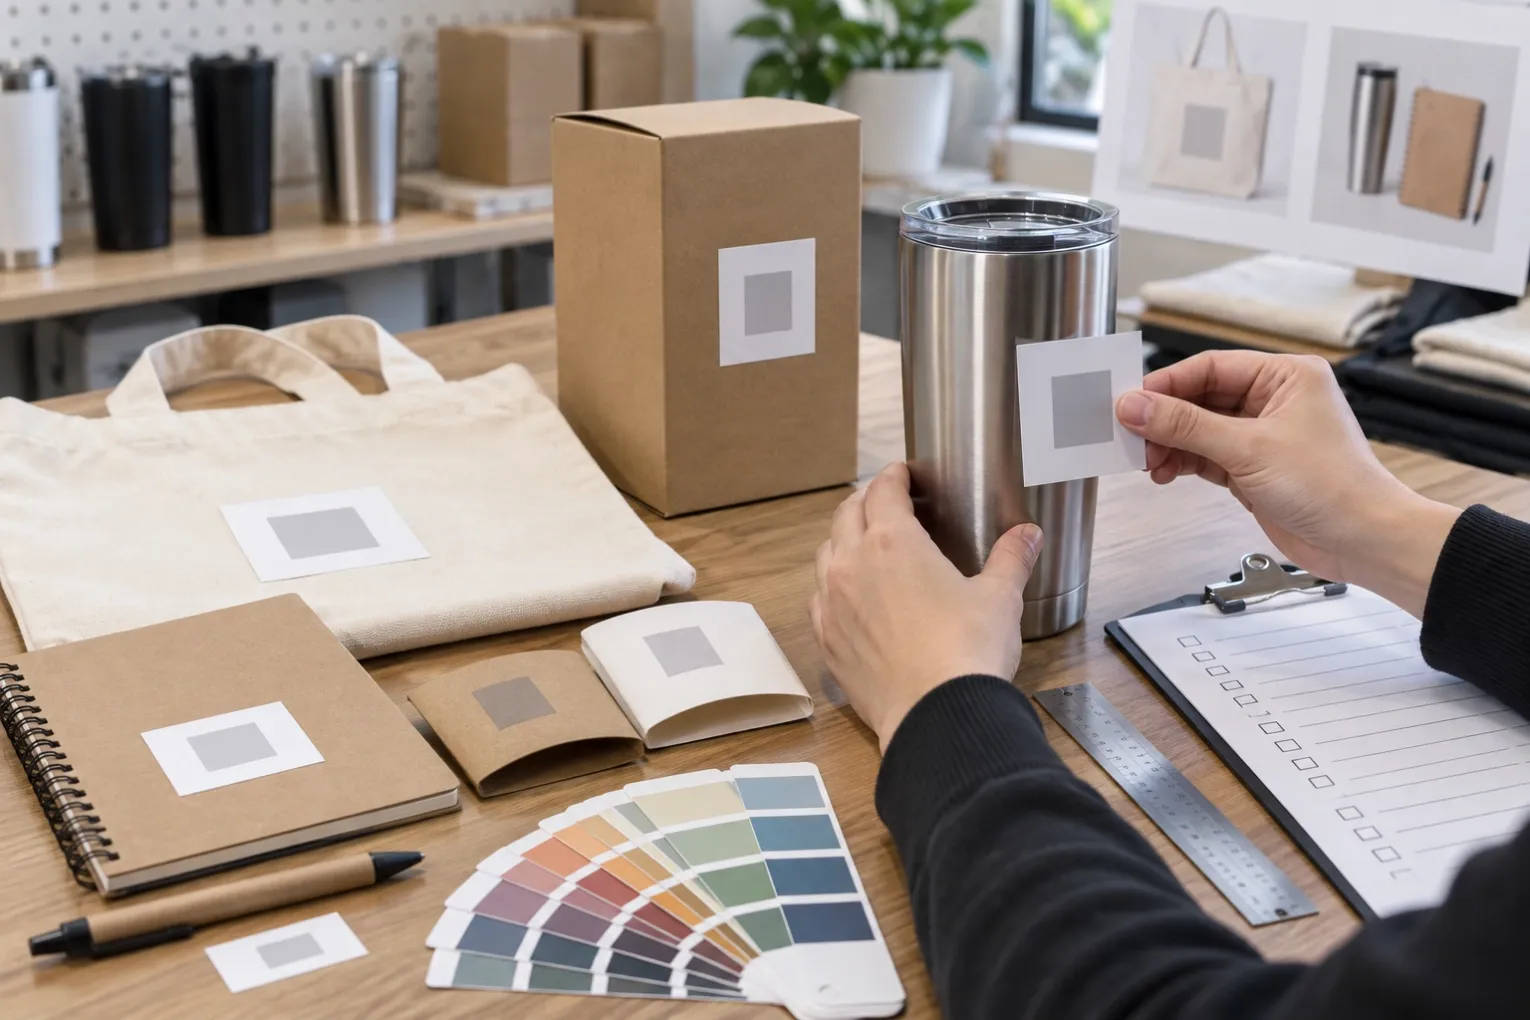
A corporate gift set may include a mug, bottle, notebook, bag and charging cable. The same logo is printed on every item, but the final colors may not look identical. This is normal when the products use different materials and printing methods.
The goal is not to force every item to look exactly the same. The goal is to control the differences before production so the complete set still looks like one brand.
- Use a Color Standard, Not a Screen Screenshot
A logo taken from a website, email or phone screenshot is not a reliable production reference. Screen colors change with brightness and display settings.
Send your supplier:
• A vector logo file in AI, EPS, PDF or SVG format
• Pantone color numbers when available
• CMYK values for printed paper materials
• A clear black-and-white version
• Rules for the minimum logo size and safe area
If the brand has no Pantone number, approve a physical color sample before mass production.
- Understand How the Product Material Changes Color
The same ink can look different on white ceramic, brushed steel, natural kraft paper, black fabric and transparent plastic.
Examples:
• White ceramic usually gives a clean and bright result
• Stainless steel may make colors look cooler
• Kraft paper can make light colors look darker
• Dark fabric may need a white base layer
• Transparent products may reduce color density
Ask for a mockup on the actual product color, not only on a white background.
- Match the Printing Method to Each Product
One printing method may not work for every item in a gift set.
Common options include:
• Screen printing for simple solid-color logos
• Pad printing for small or curved products
• Laser engraving for metal products
• Heat transfer for detailed graphics on fabric
• UV printing for full-color designs
• Embossing or debossing for notebooks and leather-like materials
Laser engraving does not reproduce a Pantone color. It creates a permanent material finish. If exact brand color is essential, choose a printing method that uses ink.
- Approve One Master Logo Layout
Prepare one master guide showing:
• Logo version
• Approved colors
• Minimum size
• Clear space
• Horizontal or vertical orientation
• Background rules
The printing area will change from product to product, but the proportions and visual style should remain consistent.
For example, a small charging cable may use only the symbol, while a notebook can use the complete logo and company name.
- Check the Logo Against Every Product Color
A blue logo may work on a white mug but disappear on a dark blue tote bag. Prepare alternative approved versions before production begins.
A practical logo package can include:
• Full-color logo for light backgrounds
• White logo for dark backgrounds
• Black logo for light natural materials
• One-color symbol for small printing areas
This avoids last-minute artwork changes.
- Review Digital Mockups as a Complete Set
Do not approve each product in isolation. Ask the supplier to place all mockups together on one approval sheet.
Check:
• Whether one logo looks much larger than the others
• Whether the colors feel consistent
• Whether the logo position is balanced
• Whether the packaging follows the same visual system
• Whether the set looks coordinated when opened
A combined review often reveals problems that are missed in separate product approvals.
- Use Samples for the Highest-Risk Items
A sample is most useful when:
• The brand color must be accurate
• The product surface is dark or textured
• The logo contains thin lines or small text
• The printing area is curved
• Several products must match closely
• The order is for an important client or event
If time is limited, sample the most difficult item first and use it as the reference for the remaining products.
- Include Packaging in the Brand Check
The gift box, sleeve, insert card and shipping label are part of the customer experience.
Confirm:
• Box and tissue-paper colors
• Logo position on the lid
• Insert card wording
• QR code destination
• Product arrangement inside the box
• Individual product protection
• Outer-carton marks
Simple packaging with consistent colors often looks more professional than complicated packaging with too many design elements.
- Keep a Final Approval Record
Before mass production, save one approved document that includes:
• Product names and colors
• Logo files
• Pantone or CMYK references
• Printing methods
• Logo sizes and positions
• Packaging details
• Approved mockup date
• Approver's name
This gives the buyer, supplier and production team the same reference.
Final Recommendation
When one logo is applied to five different products, some color variation is unavoidable. The safest process is to define the color standard, understand the material, choose the correct printing method and approve the complete set before production.
Send us your product list, logo file, quantity and delivery date. We can prepare a coordinated branding plan for your corporate gift set:
https://www.suoyigroup.com/contact-us